Ask me about my LaserPecker
- Robert Szabo

- Sep 18, 2020
- 9 min read
Updated: Mar 12, 2022
I've been itching to add a laser engraver to my toolkit for a while now. Every time I started searching, I wasn't able to find something that I needed. I was looking for something durable, long lasting, incredibly accurate, could take projects of any size, and also cost 99 cents. As you might have guessed, I didn't find that. What I did find, is the LaserPecker. And that's how I engraved 50 of these coasters.

What I wanted:
Could work on projects of any size: from 4" coasters to a 17"x12" cutting board.
Fast and easy setup. I don't want to have to spend two days putting pieces together before I can use it.
Capable of etching detailed engravings. I have plans to etch projects with wedding monograms, business logos, and other art.
Durable and long lasting. If I drop money on an expensive piece of equipment, I want it to last a while.
Other considerations I didn't know I should know while searching:
Software Required / Provided - Every laser engraver requires software. Sometimes a simple phone app, others require heavy duty CAD type software that may or may not come with the hardware. LP has an Android and iOS app.
External Hardware - Is the machine compatible with Android or iOS phones? If it requires a computer, do you need a Mac or Windows or will it work on both?
Exhaust - Where does the exhaust, smoke, or fumes go? You'll want to place any of these machines in a well vented area or next to a window. Glowforge has a hose like something you'd use for your dryer unit.
Fans - If you have an open unit, like the LaserPecker, you'll need a fan for two reasons. One is to blow smoke away from the laser beam. If smoke builds up, the laser won't have a clean shot at the piece and will result in a poor engraving.
After spending way too long thinking, I finally decided to bite-the-bullet and get a cheaper product and try it out. While I had expectations of the product performing, I was also managing my expectations and keeping the bar low, just in case it didn't turn out how I wanted. It also helped that, at the time, Amazon had a sale on the gold model.
Get Your Own LaserPecker
The LaserPecker comes in a few variations:
Gold w/ Safety Shield Box - For a little bit extra, this includes a safety shield that you can see through safely without protective glasses. It also has a fan to remove smoke.
The packaging is quite nice and gives a lot of hope in the quality of the product.
If you're interested in picking one up, please use one of the Amazon Affiliate links above. I don't get much from it, however you can't beat the quick shipping and random deals. Mine arrived in a day!
Setup and Android App
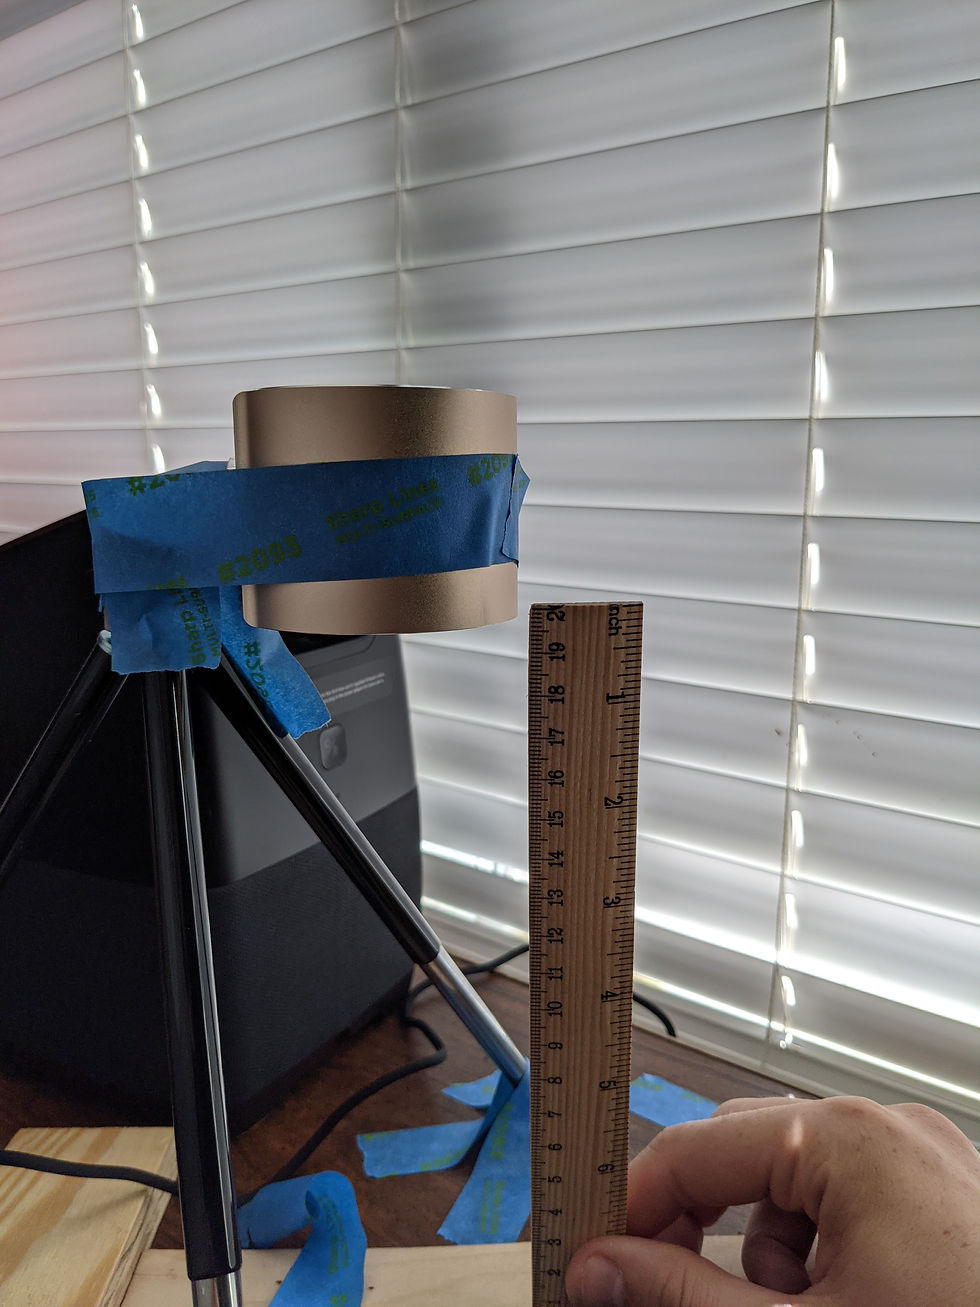
There are multiple warnings to the height adjustment that the laser should be at. 200mm! It even comes with a small ruler measured out perfectly to that height. As you can see, I don't have mine exactly at 200mm from the coasters, but it is pretty darn close. You will get great results if you are as close to 200mm as you can be.
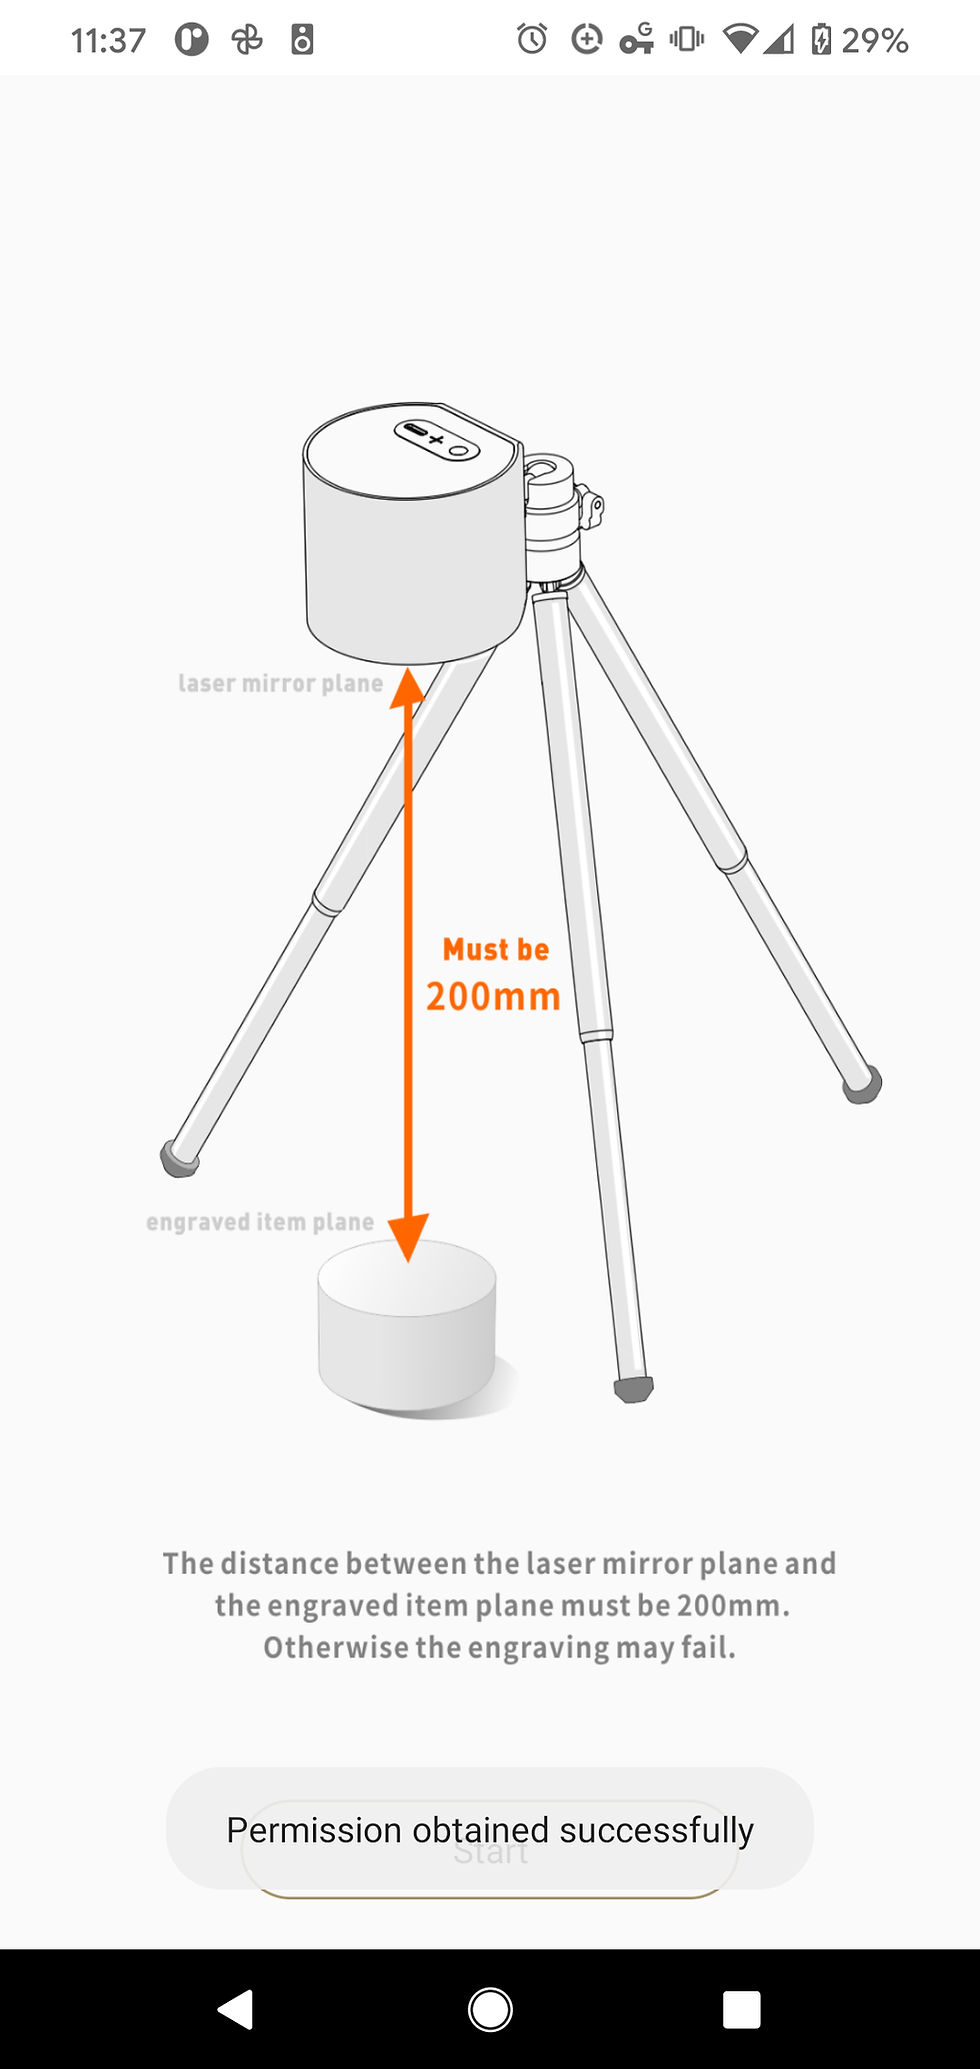
In the Android App, the location permission is required in order to use Bluetooth. That's just Android now. So don't be alarmed that it asks for permission, however the option "Use when the app is running" will not work. You'll have to either always grant permission, or grant permission for one time use.
If you don't see "Permission obtained successfully" then your camera will not be able to connect. I didn't see this unless I granted permission "only this time" or "always". Fortunately I found out that their support staff is responsive. They're not in the US so timezones are the only slowdown from my end.
I denied the Phone permission. I'm not saying it doesn't have a legitimate use, but I don't know what that is so I didn't grant it.
Test Pieces
Always use test pieces! As excited as I was to try out the designs for the wedding coasters, I needed to try this machine out on something that didn't matter and so I knew how to configure the laser properly.
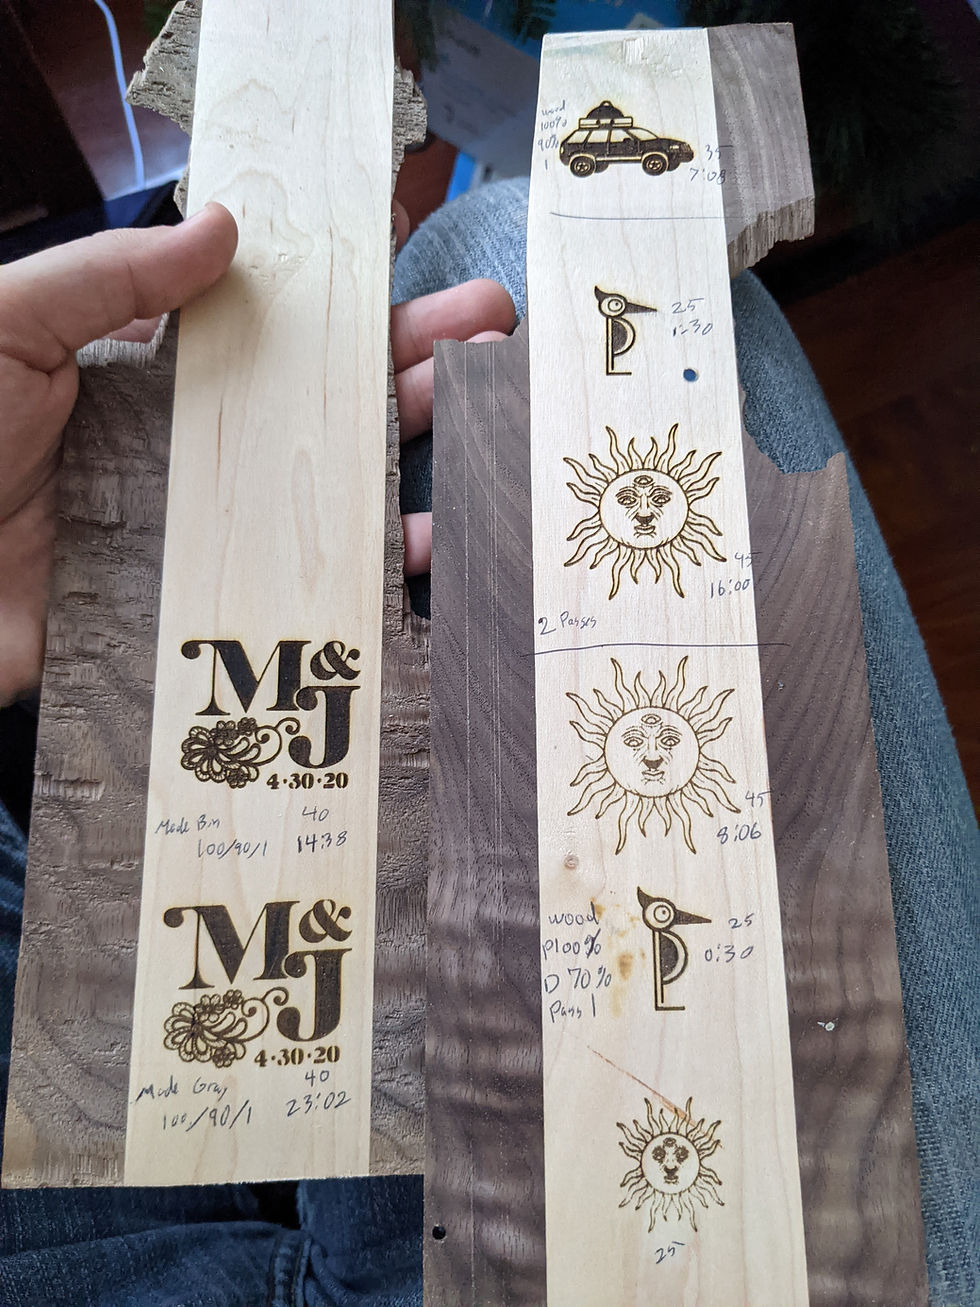
Additionally, the device starts a "Newbie" tutorial right out of the gate which gets you to laze their logo on one of the scrap pieces of paper they send you. Mine turned out perfectly, so immediately ran to my scrap and failed coaster boards to test out more engravings.
Going from the bottom right and moving up the piece on the right:
The bottom was an attempt at the sun but it was too small, 25mm across the long edge. The print settings were also the defaults for wood and I started to do a second pass but cancelled when I decided it wasn't worth it. That's why the top is a bit more muggy than the bottom. Overall, this one was too small.
The next one was the LP logo, again 25mm on the long side and only one pass. This took about 30 seconds.
Third attempt was the sun again. The long edge was set to 45 this time. It turned out very nice and took about 8 minutes.
Fourth, I ran two passes for this sun. I definitely like this look better, so for a design with a lot of thin lines, I might consider two passes. This took about 16 minutes.
Fifth, Two passes for this LP logo and I didn't see much of a difference. It took about a minute to complete, however for something like this, one pass would suffice.
Sixth, I chose a different stock design and changed the depth setting. Instead of 70% I changed it to 90%. This means the laser is going to work a bit harder and take a bit more time. The result was great! The jeep was 35mm on the long side and took about 7 minutes. This became my new favorite setting. Time to test the wedding logo!
On the left you can see my two wedding coaster tests. These have the long side at 40mm. The first (bottom) took about 23 minutes and was in "Gray" mode. This is much slower, more deliberate, and trying its absolute hardest to be as accurate as possible. The next test was in "Bin" mode and took about 15 minutes. The preview for bin mode looked a bit blocky and I was worried that the curves would turn into edges in the real sketch. Click on the images below to see the difference between Bin (left) and Gray (right). Gray mode keeps to the original image as best as possible, while Bin will "cut corners" a bit. I don't know the technical details behind the image processing here, but it is very accurate. When you look closely (and I mean closely) you will notice some blocky-ness around the curves, but also the flower area will not look as clean. I imagine that if I tried to etch this with the long edge set to 100mm (max size), then some of those blocks may start to show. But at this size (45mm) looked just fine and took much less time.
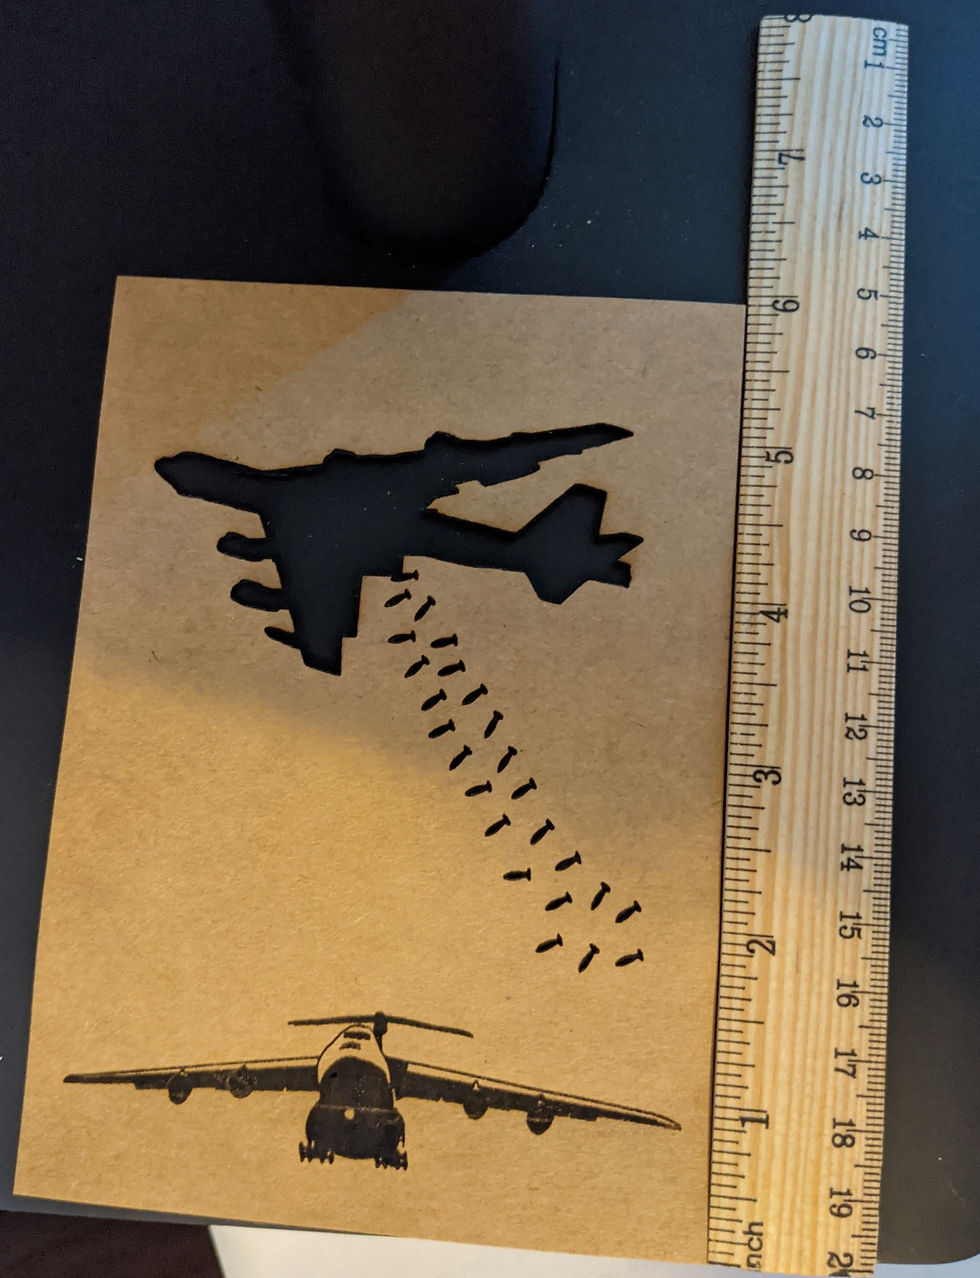
Because I had another project coming up, I tested how big I could make these designs. 100mm is the max dimension, which comes out to about 3.94". It handles these aircrafts on the provided test paper like a charm.

Jig Setup

With the engraving details dialed in, it was time to get to work. And by that, I mean setting up a jig so I can quickly swap these coasters in and out. I grabbed some scrap wood, double sided tape, the nearest object to prop my window open, and a fan. Okay I lied, I didn't think about opening a window and a fan until in the middle of my test prints. When I saw the smoke coming off and the smell of burning wood I made a mad dash to get the fan and window open.
I should have secured the tripod as well as the laser head. A few times between coasters, I accidentally bumped the unit and had to recenter it before starting the next coaster. The head isn't completely secure either. It screws on to the tripod well, but after that it can still rotate. Again a few accidental bumps while swapping coasters out so I had to recalibrate a few times.
Calibration process is extremely simple, fortunately. When the image is selected, there's an option to preview the engraving box. So if the long side of your image is 45mm, the laser will turn on in a very low powered mode and show the box it will work inside of. Simple move the laser, tripod, or piece to align.
Stress Test

With the engraving details dialed in, it was time to get to work. Each coaster took about 14 minutes and 20 seconds of laser activity. Mixed with me swapping coasters out and starting the next engraving, I spent about 15 minutes on each coaster. I'm working from home and able to have this Laser Station setup right next to my desk. So when the "I'm Done" beep goes off, I'd turn to it, swap a coaster, and start the next one. I did about 10 (2.5 hours) the first night, 22 (5.5 hours), the next day, and wrapped up the final 18 (4.5 hours) the next day. Mixed in with all of my test prints, I had this laser working between 13 and 14 hours over the course of 3 days, with spending about 9.5 hours non-stop in one day (more on that below). Awesome!
This thing works great with coasters!!

At one point, I had my robot vacuum running. It bumped into the table, causing a slight movement in the laser. When you're using this, make sure you lock everything down so it can't move during the print.
Laser Carving

Alright so engraving works great. What about carving? The amazon page (links above) certainly don't advertise it, but I wanted to try. Maybe if I did enough passes, I could cut out a something on a thin piece of wood. Maybe make some wooden earrings? A lot of questions, so I figured what the heck, lets run it!
I taped everything down this time, including the thin strip of hard maple I had. As I write this, I realize I was trying this on ...hard... maple. So I might try this experiment again with a softer species of wood.
Using the Creation option in the app, I traced out a quick F with a small hole for an earring hook.
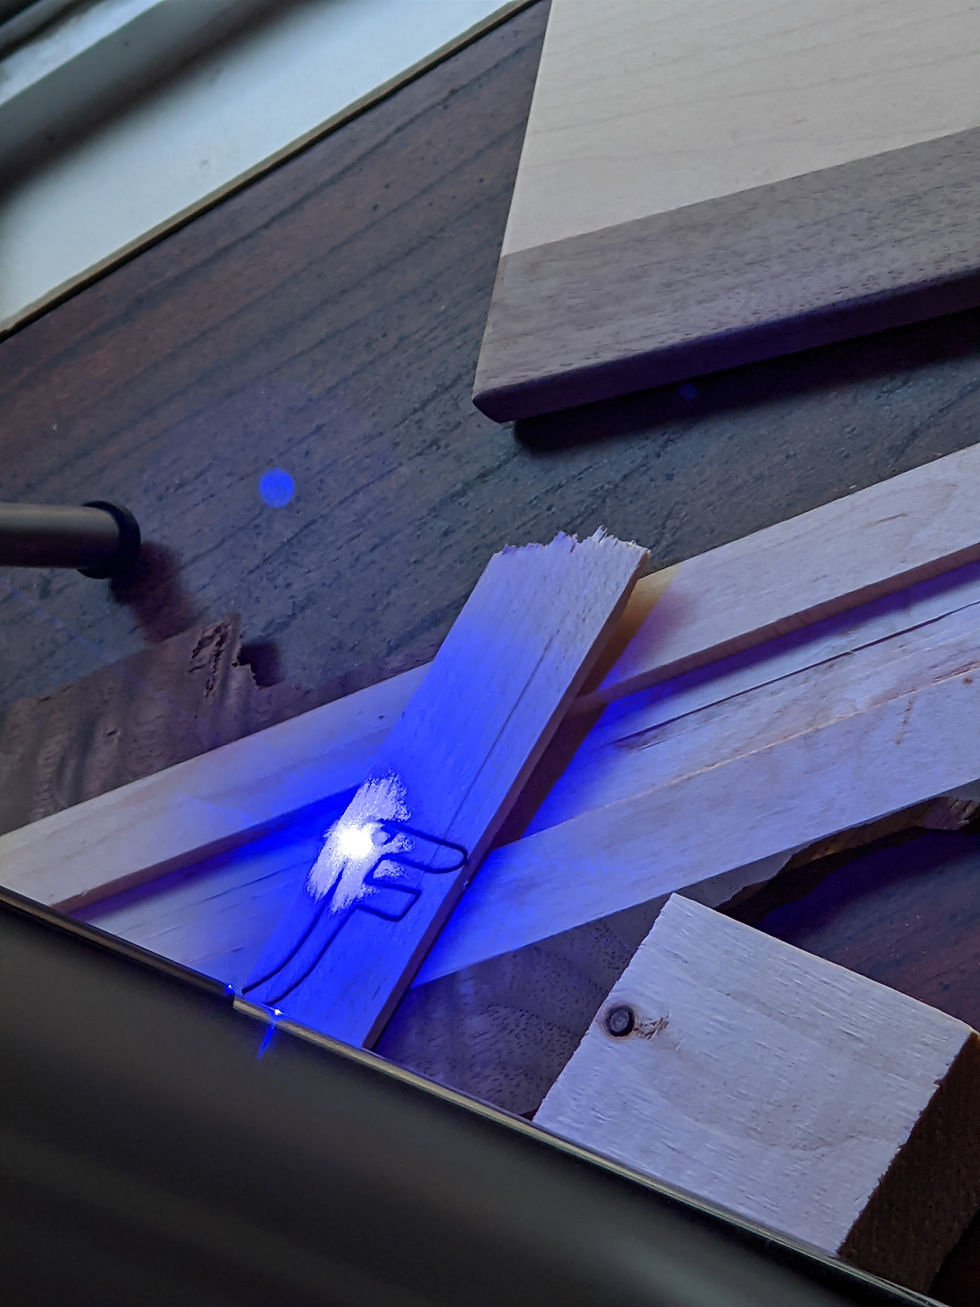

The app allows you to set 20 passes at a time. After that you'll have to "Engrave Again" and run another 20 passes. Each pass took about 30 seconds and I ran about 470 passes consecutively. That's nearly 4 hours of constant running. I conducted this test on the last day of my coaster run. The laser did not end up cutting all the way through. I didn't measure, but there was probably 1/64" left over. I bent and broke the wood around it. and the F came out pretty nicely! Okay, so since I had so little left... let's do it again, but this time for longer!
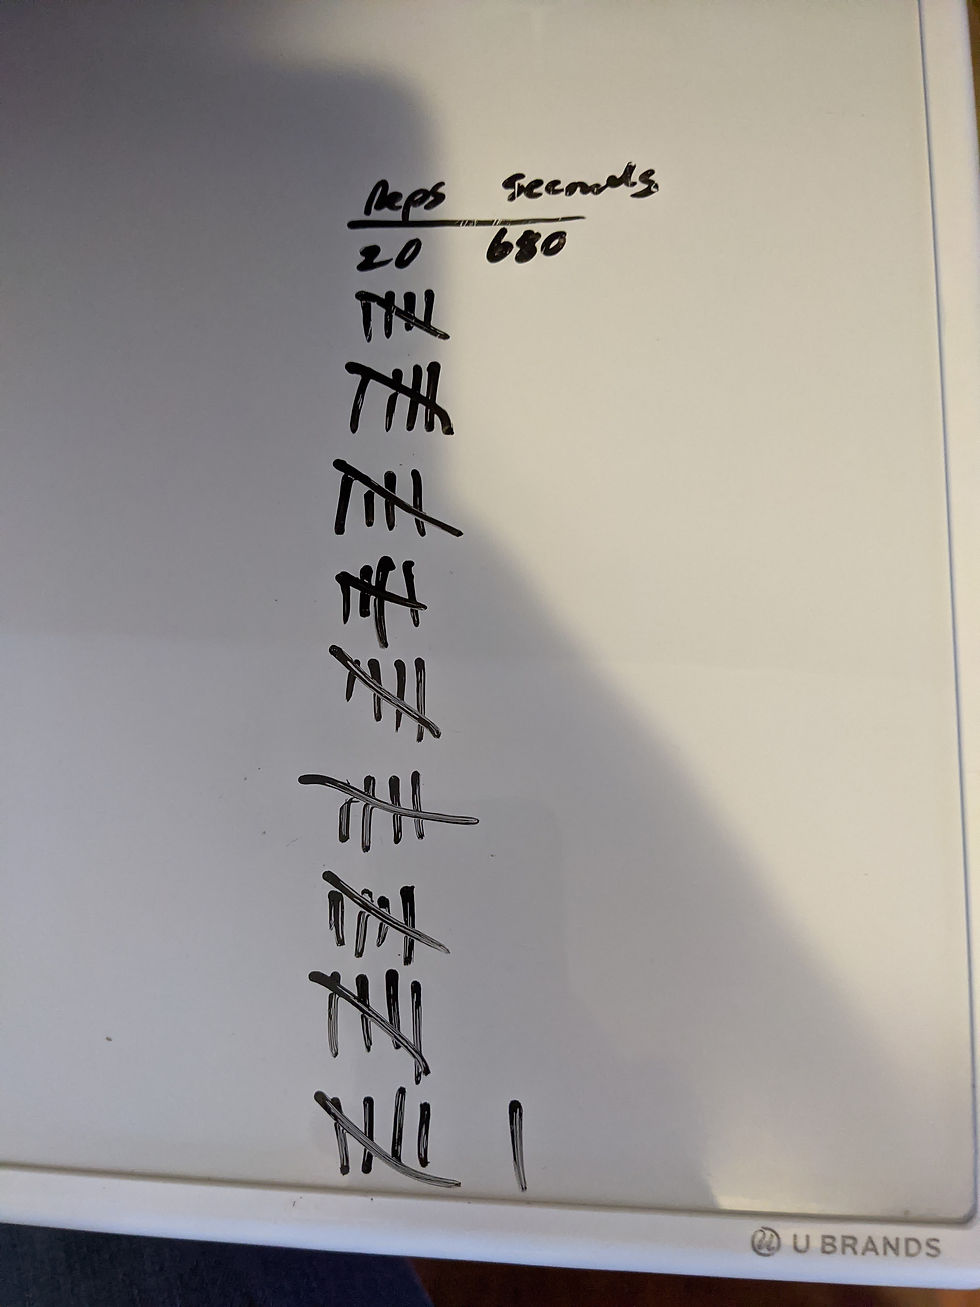
Each tick mark is 20 runs. There's 46 marks here, so 920 passes which equates to about 8 hours of run time. This is actually my third attempt, the second attempt I bumped the table about 200 passes in and wanted to have a pure and clean test, so i restarted. Below you can see the results of 920 passes. I thought I had carved all the way through so I pulled the piece up. I could even see some light shining through which made me incredibly optimistic. But when I attempted to separate the F from the wood... it all F'd up.
Oh well, it was a great test, and also goes to show that this tiny laser is a workhorse!
Safety
Get a shield if you have cats, dogs, or toddlers. If you don't get a shield, build a protective cover around it to keep curious creatures away and safe. I live in a house that belongs to two cats, they just let me stay here. The laser is in my living room / workstation area and I do not feel comfortable leaving this unattended. The fan is blowing smoke out of a screened window. My cats love looking out of the windows and the laser is extra curious. I have no intention of curiosity killing my cats, so I stand guard.
The laser shield is about 150$ when bought separately, directly from LaserPecker, but only an extra $100 from Amazon when bought with a laser.
The packaging also includes a pair of safety glasses so that you can stare at the work in progress for ever and ever.
What's Next
Engraving that thing you want!
In my search I have heavily considered a Glowforge. I could set this up in my living room and not worry about fumes thanks to the enclosure. It can laze, cut, engrave, etch all in one. That said, I couldn't convince myself to drop 4K on something that I wasn't sure how much value I'd get out of it. After playing around with this LaserPecker, though, I'm seeing so many options and possibilities that I would need an elegant monster like the Glowforge to help me with.
For the LaserPecker, I'll probably end up making my own box out of plywood and adjustable stops so that I can consistently get level and accurate engravings. This is especially useful when batching out 50+ wedding coasters. This will also give me something to place the laser head on and not have to worry about bumping the tripod, or the head wobbling.
LaserPecker is not sponsoring this post. If you'd like to grab your own, please use the Amazon affiliate links above and help support my shop.
Who made this awesome monogram?
Kate! A great friend and awesome artist, painter, designer. Give her instagram a look and contact her on her website to see how she can help you bring your designs to life!


Hi I have a LP3 and i can't seem to center the laser centering dot with the box
Hey! Thanks for sharing this! Really insightful!